How to Start a Fire with Wet Wood? Use our professional tactics to start a fire with wet wood. With determination and the right methods by Affordable Mag, you can enjoy a cozy fire in any kind of weather.
A fire can be a vital tool in a survival crisis in addition to being a wonderful enhancement to the camping experience. Lighting a fire can be very simple on a typical camping trip, but what happens when the weather goes bad?
Here are a few basic steps to help you effectively start a fire in wet conditions.
How to Start a Fire with Wet Wood? Things required
Tinder –
It should be the driest, lightest material. They won’t function if they are wet. Use dry wood shavings, fine-grade steel wool, petroleum jelly-coated cotton balls, or a fire starter stick.
Kindling –
Pick finger-thick or thinner, four to six-inch long, tiny, dry twigs. Use a knife to remove soggy twigs through to the dry center.
Logs –
Eventually, logs will serve as the fuel that keeps your fire blazing hot and long.
Firestarter –
Something that burns easily and is used to start fires.
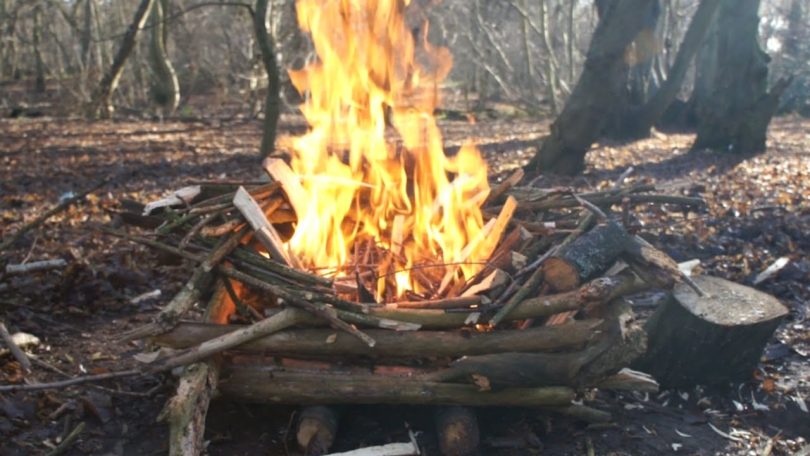
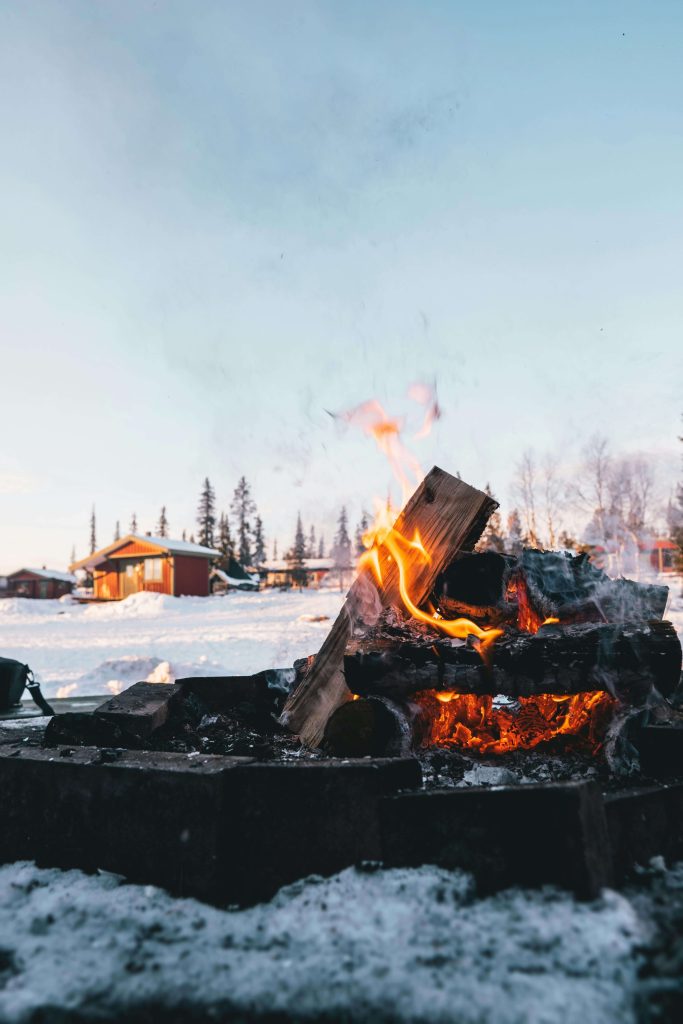
Start a Fire with Wet Wood
How to Start a Fire with Wet Wood? Let’s go over how to start a fire using wet wood, knowing that you are aware of the things you’ll require. Remember that any wood you gather for a fire should be entirely dead, not green, which is still effectively a living tree.
Burning green wood has a variety of drawbacks, including excessive smoke production. Everything is regarded as dead wood that the rain has drenched in the wet wood situation explained below.
Step 1: Select the right area
To establish the best conditions for your fire under a moist environment, make sure to clear the area of snow, debris, and moist dirt. After that, make a bed for your fire by assembling whatever dry materials you have.
It might be a good idea to dig a pit and build your fire there if there is a lot of wind around. The pit’s depth must increase in proportion to how bad the wind is.
To swiftly retrieve it when the spark ignites, ensure your other resources, like your tinder bundle, kindling, and logs, are nearby and within arm’s reach.
Step 2: Light tinder bundle
Light your perfectly shaped tinder bundle as the second step in starting a fire with wet wood. Assuming you don’t have any matches because we’re considering a survival situation, it will be more difficult to light your tinder bundle.
You will require a different method to ignite that tinder bundle without a lighter. Char cloth can be helpful in this situation. A char cloth must first be lit, a process in and of itself.
Catching the spark on the char cloth is the first step, and after an ember has formed, you move the burning ember to your tinder bundle. Blow on it slightly to let some oxygen inside, then watch it start to burn.
Step 3: Select fire structure and add kindling
You’re going to gradually start adding kindling to your tinder bundle after it starts burning. If you have gathered wet fire, you will need to take a knife and scrape the outer layer of bark off to reveal the interior layer because the fire you obtained is more likely to be wet than not.
This should be completed in advance to avoid taking too long on this process and possibly allowing your tinder pile to burn out. In addition, once the tinder bundle starts burning, you should know the kind of fire structure you’ll utilize.
There is no correct or incorrect method. Simply put, it comes down to which you are most at ease with or have had the most experience with. Usually, a fire can be built in one of three ways:
- Log Cabin Fire
- Tepee Fire
- Lean-To Fire
Step 4: Set more fuel on fire
It’s the step we need to put together for our fire to burn bright and long enough for us. You must collect some wet wood, usually the length of your forearm, much like you did with wet kindling.
You will then use a hatchet or knife to remove the wet outer layer of bark to reveal the dry inner layer. This internal, dry layer will be the definitive source of your fire’s fuel.
Additionally, cut your larger logs into various sized pieces with your hatchet. Once more, repeating this will allow you to see the log’s interior, dry layers. When you’re finished, keep adding to your fire until it reaches your desired size.
Step 5: Put out the fire
As crucial as starting your fire, it is just as crucial to extinguish it before leaving once you are done with it. You can achieve this by sprinkling the water on the fire or burying it in sand or mud.
Feel the temperature by placing your hands near the coals, embers, or burned wood. If even a small portion of it is too hot to handle, the fire is too hot to be left unattended.
Tips to start a fire with wet wood:
- Utilize the driest part of the wood from inside the logs.
- The trick is having a good amount of excess kindling.
- Using huge logs or rocks, make a foundation to lift your fire off the soggy ground.
- To let your fire dry out as you go, place wood next to it.
- To start a fire, always have extra materials on hand.
Final Reviews by AffordableMag:
In a camping or survival situation, it might be a nightmare to attempt to start a fire with wet wood. By selecting the proper location and following these steps to construct the fire, it is frequently feasible to start a fire using wet wood.